
 28 Oct 2026
 18 min read

 Danny Wall

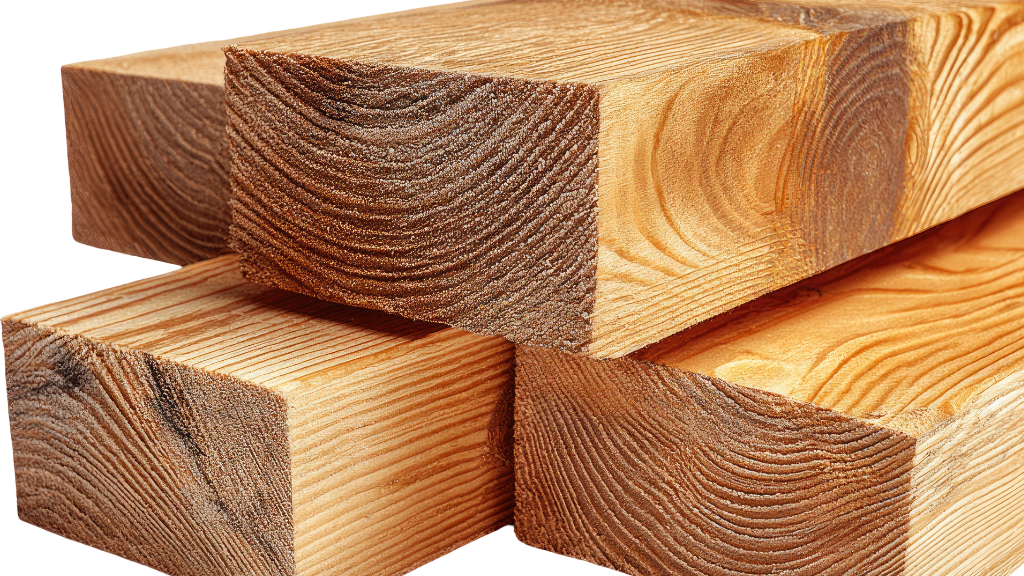
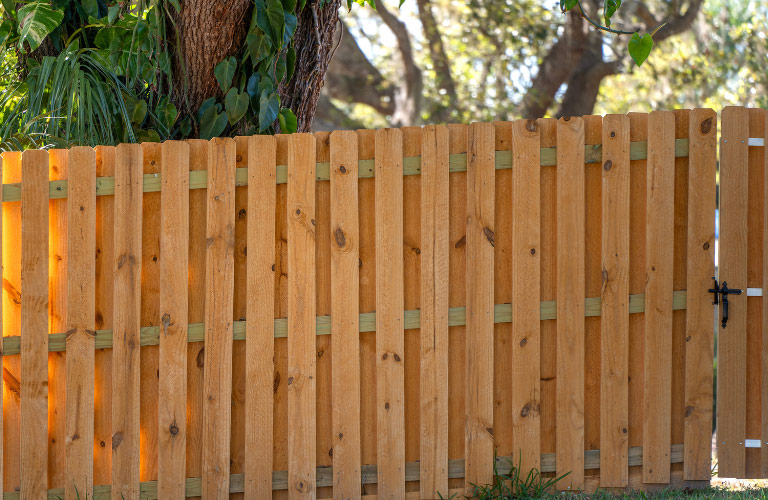
To build a garden fence, set treated timber posts at least 600mm into the ground in post mix. Then fix either ready-made panels or rails and feather edge boards between them. Most fences that fail early have the same faults: shallow posts, panels sitting on the soil, or timber with the wrong treatment for ground contact.
This guide covers both ways of doing it: a panel fence, and a closeboard fence built on site from loose timber. The planning stage decides whether you end up with a straight, solid fence or one that leans by the second winter.
Panel Fence or Closeboard, and Which One to Build
The two main builds use the same posts and footings. The difference is what goes between them.
|
Build |
Cost | Strength in wind | Time to build | Works on slopes | Best for |
|
Lap or waney panels |
Lowest | Fair | Quickest | Stepped only |
Budget boundaries, sheltered gardens |
|
Featheredge panels |
Low to medium | Good | Quick | Stepped only |
Privacy without building on site |
|
Closeboard built on site |
Medium | Strongest | Slowest | Steps or follows the slope |
Exposed gardens, long runs, uneven ground |
|
Slatted |
Medium | Good | Medium | Stepped |
Modern gardens, screening |
| Picket | Low | Good (open) | Quick | Follows the slope |
Front gardens, low borders |
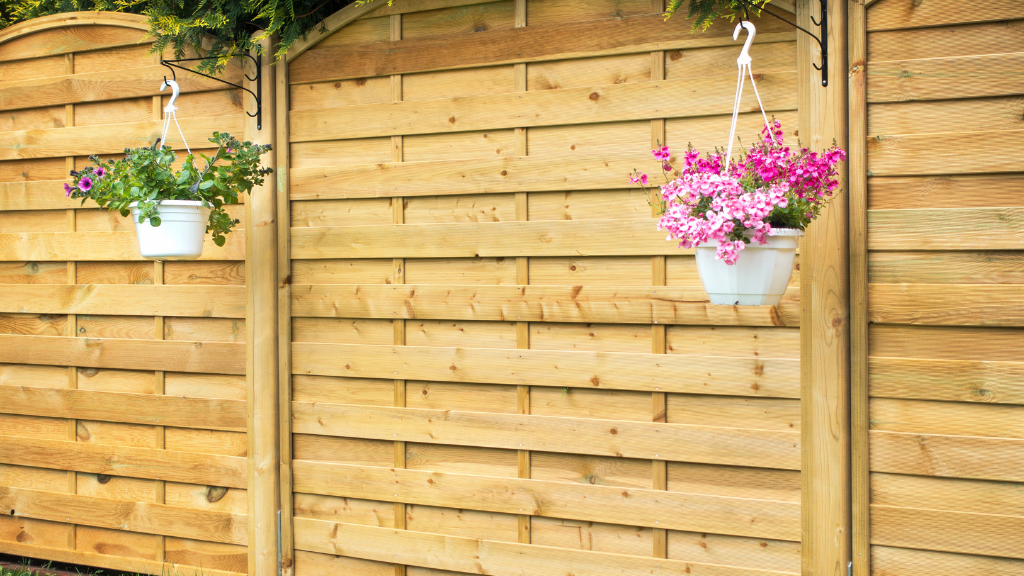
Panels are the easier first build for most people. You set the posts, slide or clip the panel in, and move on to the next bay.
Closeboard takes longer because each board is fixed by hand, but it stands up better to wind. It uses three rails on taller fences and boards fixed individually. A damaged board can be swapped out without replacing a whole panel. It also costs more in labour than panels, but less than you might expect in materials, because you buy timber by the length rather than as finished panels.
You can find ready-made fence panels and loose feather edge boards for either route.
Before You Dig
Check the boundary and talk to your neighbour
Your title deeds or Land Registry plan show which boundaries you’re responsible for. Even if the boundary is clearly yours, speak to your neighbour before work starts. On a shared boundary they may want a say on height or style, and some will split the cost.
By convention, the posts and rails face the owner’s side and the boards face the neighbour. That’s a custom rather than a legal rule, but it’s worth sticking to, because people often read it as a sign of who owns the fence.
Planning rules for garden fences
In England and Wales, a garden fence up to 2m high doesn’t normally need planning permission. The limit drops to 1m next to a road or public footpath. Listed buildings, conservation areas and properties with permitted development rights removed are the exceptions, so check with your local planning authority if any of those apply. Measure the height from your side of the ground, and include trellis and capping in it.
Scan for cables and pipes
Before you dig a single hole, run a cable avoidance tool along the fence line. You can hire one from most tool hire shops. Hitting a buried cable or water pipe is dangerous and expensive. If you find services where a post needs to go, move the post or rethink the layout.
Pick your weather
Avoid frozen ground, heavy rain and windy days. Rain stops post mix setting properly, and wind makes braced posts hard to keep plumb. Early spring and autumn are the easiest times, because the ground digs well and border plants recover quickly.
How Much Timber You Need
Get the quantities right before you order. It saves a second trip and stops you cutting into the wrong lengths.
Post length by fence height
Work out the finished height above ground first. Include the panel or boards, the gravel board, and any trellis or capping. Add at least 600mm for the part that goes in the ground.
|
Finished height above ground |
Post length | Notes |
|
1.2m |
1.8m | 600mm in the ground |
|
1.5m |
2.1m |
Cut down from 2.4m |
|
1.8m |
2.4m |
The most common garden fence |
| 1.95m (1.8m panel plus gravel board) | 3.0m, cut to length |
A 2.4m post would leave only 450mm in the ground |
| 1.8m panel plus 300mm trellis | 3.0m |
Check the total stays under 2m |
Use 100 x 100mm posts for fences of 1.8m and over, for gate posts and on windy sites. A 75 x 75mm post is fine for lower panel fences. Our timber fence posts come in 1.8m, 2.4m and 3.0m lengths.
Panel fence quantities
Divide the length of the run by the panel width (usually 1.83m) and round up. That gives the number of panels. Add one to get the number of posts, and add an extra post either side of any gate.
For example, an 18m run needs 18 ÷ 1.83 = 9.8, which rounds up to 10 panels and 11 posts. You’ll also want one gravel board per panel.
Closeboard cutting list per bay
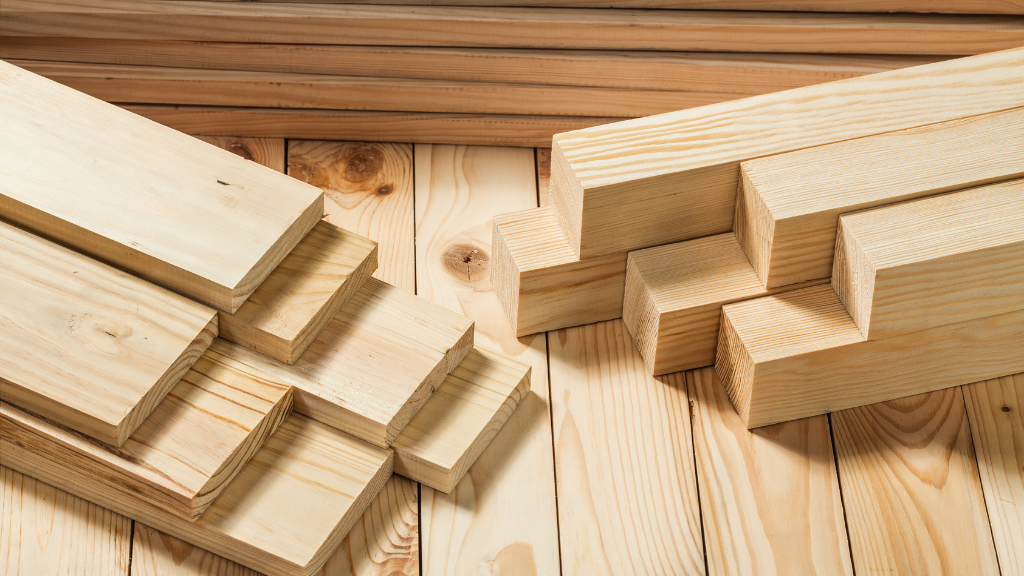
A closeboard fence is built almost entirely from rough sawn treated timber and feather edge boards. Here’s what each part does and the section to use.
|
Component |
What it does | Section to use |
|
Posts |
Carry the whole fence |
100 x 100mm, UC4 treated |
|
Rails |
Hold the boards. Two up to 1.2m, three above that |
47 x 100mm or 47 x 75mm rough sawn treated |
|
Gravel board |
Keeps the boards off the soil |
22 x 150mm rough sawn treated, or a concrete gravel board |
|
Feather edge boards |
The face of the fence |
22 x 125mm feather edge |
|
Counter rail |
Gives the capping something to fix to |
25 x 38mm or 25 x 50mm treated batten |
| Capping | Sheds rain off the board tops |
22 x 100mm rough sawn treated |
Rough sawn sizes are nominal, and timber sizes rarely match the label once the wood has been dried and processed. A 47 x 100mm section finishes at around 45 x 95mm, so allow for that when you set out the rails.
How many feather edge boards per metre
A 125mm feather edge board with a 25mm overlap covers 100mm of fence. That works out at 10 boards per metre, so a 10m run needs 100 boards. Add a few spares for splits and cuts.
For board length, take the finished fence height and subtract the gravel board. A 1.8m board sitting on a 150mm gravel board gives you a fence just under 2m once the capping is on.
Post mix per post
Most 20kg bags of post mix suggest about two bags for a 100 x 100mm post in a 600mm hole. Wider holes or deeper footings take more. Check the figure on the bag you’re using and buy a couple of spare bags, because running out halfway along a run is a common hold-up.
Tools and Materials Checklist
Tools
- Post hole digger or narrow spade
- Long spirit level (not a pocket level)
- String line and bamboo canes
- Tape measure and pencil
- Drill driver and bits
- Hammer
- Handsaw or circular saw
- Trowel
- Timber offcuts for temporary bracing
- A spacer block for feather edge (a 100mm offcut works)
- Cable avoidance tool (hire one)
Materials
- Posts, UC4 treated, or slotted concrete posts
- Fence panels, or rails and feather edge boards
- Gravel boards, timber or concrete
- Post mix
- Gravel or MOT Type 1 for the hole base
- U clips and L brackets for panel fences
- Exterior screws
- Galvanised nails or annular ring nails, 50mm for boards
- Post caps, counter rail and capping
- End grain preservative for cut ends
How to Set Fence Posts
The footings are the same for both builds, and they matter more than anything else on the job.
- Mark out the line. Run a string line between canes along the fence route. Check any corners with the 3-4-5 method: measure 3 units along one line and 4 along the other, and the diagonal should be 5. A line that’s 50mm out at one end turns into an obvious kink by the other.
- Mark the post centres. For panels fixed between 100mm posts, set the centres 1.93m apart. That’s the 1.83m panel plus the width of one post. For slotted concrete posts, take the panel width plus the post width, minus twice the slot depth. For closeboard, space posts at up to 2.4m centres so that rail joins land on a post. Go closer, around 1.8m, on exposed sites.
- Dig the holes. Go down 600mm as a minimum and 750mm on windy or soft ground. As a rule of thumb, about a third of the post should be underground. Make each hole roughly three times the width of the post, so around 300mm for a 100mm post.
- Add drainage. Put 50 to 75mm of gravel or MOT Type 1 in the bottom of each hole. This stops the end grain sitting in water, which is where rot usually starts.
- Set the end posts first. Stand the post in the hole and check it’s plumb on two adjacent faces. Brace it with two timber battens screwed to the post and pegged into the ground. Fill with post mix to about 25mm below ground level, following the instructions on the bag, then trowel the top so it slopes away from the post.
- Run lines between the end posts. Once both ends have set, stretch one line along the top and one near the bottom. These keep every post in between at the right height and in a straight line.
- Set the intermediate posts. Work along the run, setting each post to the lines and checking it’s plumb as you go. Lay a straight batten across the tops of neighbouring posts with a level on it to check they line up with each other.
- Leave the mix to set. Post mix firms up within minutes but takes a few hours to reach working strength. Check the bag, and wait longer before hanging panels on a windy day. Loading a post too early is one of the most common reasons a new fence ends up out of line.
How to Build a Panel Fence
Once the posts have set, fitting panels is fairly quick, especially with a second person to lift.
- Fit the gravel boards. Screw an L bracket to the base of each post on the panel side, then fix the gravel board to the brackets with short exterior screws. It should sit just above the soil, not buried in it.
- Fit the panel clips. Fix two or three U clips to each post. Place one about 150mm below where the top of the panel will sit, one 150mm above the bottom, and one in the middle on taller fences.
- Hang the panel. Lift the panel onto the gravel board, slide it into the clips and screw through each clip into the panel frame. Check it’s level before fixing the next one.
- Finish the posts. Trim the post tops to a consistent height, then pre-drill and screw on a post cap. End grain soaks up water faster than any other part of the post, and capping it removes the main way moisture gets in.
Using slotted concrete posts
Concrete posts with slots let you drop each panel in from above, with no clips or screws. Set the gravel board in first, then lower the panel onto it. Pack any loose panels with a timber wedge so they don’t rattle in the wind. Concrete posts are heavy, so this is a two-person job.
Cutting a panel to fit the last bay
Your run rarely divides into whole panels. To shorten one, measure the width you need and mark it on the panel. Take the vertical framing batten off the end being cut, refix it on your mark, and saw down the outside edge of the batten. Treat the cut ends before fitting.
How to Build a Closeboard Fence From Feather Edge Boards
A closeboard fence is built on site from posts, rails, a gravel board and individual feather edge boards. It takes longer than panels, but you can adjust it to fit any run length and it handles uneven ground well.
Arris rails or face-fixed rails
Traditional closeboard uses arris rails. These are triangular rails that slot into notches or mortices cut in the posts. The simpler DIY method uses rectangular rails fixed to the face of the posts instead, sometimes called cant rails. Face-fixed rails don’t need notched or morticed posts, which makes setting out much easier. Some fencers argue they’re the weaker option, so fix them well. This guide uses face-fixed rails in 47mm rough sawn treated timber.
Building the fence
- Fix the rails. On a 1.8m fence, fix three rails across the face of the posts: one about 150mm below the top, one about 150mm above the gravel board, and one in the middle. Use two 100mm exterior screws per rail at each post. Join rail lengths on the centre of a post, never in the middle of a bay.
- Fit the gravel board. Screw short 47mm packers to the face of each post at ground level, then fix the 22 x 150mm gravel board to them. That brings the face of the gravel board in line with the face of the rails, so the boards sit straight on top of it. Keep the gravel board level along the run, even if one end goes slightly into the ground.
- Fix the first board. Stand the first feather edge board on the gravel board with its thick edge at the end of the run. Check it’s plumb with your level, because every board after it follows this one. Nail it to each rail about 32mm in from the thick edge.
- Work along the run. Lay each new board so its thick edge overlaps the thin edge of the last one by 25mm. A 100mm spacer block makes this quick and keeps the gap even. Nail each board about 32mm in from its thick edge, once per rail. The nail should pass through one board only, while the board on top holds the thin edge of the one before it.
- Never nail through two boards. Feather edge moves with the weather. If two boards are nailed together they can’t move, so they split or pull apart, and gaps open up within months.
- Close the run neatly. As you get near the end, check how much space is left. Spread small adjustments in the overlap across the last few boards so the final board sits flush, rather than squeezing in a narrow strip.
- Fit the counter rail and capping. Fix a batten along the back of the board tops as a counter rail, then fix the capping on top. The capping covers the end grain of every board and sheds rain off the top of the fence.
Which way a feather edge fence faces
The rails and posts usually face the owner’s garden, and the smooth face of the boards faces the neighbour. If the fence is fully inside your boundary, you can choose. Many people turn the boards inwards so they get the better view.
Nails for feather edge
Use 50mm galvanised or annular ring nails for the boards. Plain steel nails rust and leave black streaks down the timber. Annular ring nails grip better as the timber dries and shrinks. Fix the rails to the posts with exterior screws or 75mm galvanised nails.
Building a Fence on a Slope
The right approach depends on which build you choose.
- Panel fences have to step down a slope. Keep each panel level, set every post a little lower than the last, and cut gravel boards to fill the triangle of space under each panel.
- Closeboard fences can do the same, or follow the ground. Fix the rails parallel to the slope, keep each board plumb, and let the top line run with the ground. On a gentle slope this gives a cleaner finish than stepped panels.
- Post length on a slope. The posts at the low end stand taller above the ground, so they need to be longer to keep 600mm underground. Measure each bay before ordering.
- Steep ground. On very steep or terraced ground, consider a low retaining wall or sleepers under the fence line first, then fence on top of that.
Mistakes That Cause Fences to Fail Early
- Posts too shallow. Anything less than 600mm in the ground on a 1.8m fence is asking for trouble in a strong wind. This is the most common reason fences blow over.
- No drainage in the post hole. Without gravel at the base, water collects around the bottom of the post and rot starts there.
- Panels or boards sitting on the soil. Always use a gravel board. It takes the damp and the strimmer knocks, and it costs far less to replace than a panel.
- The wrong post length. A 2.4m post under a 1.8m panel with a gravel board leaves only about 450mm in the ground.
- Loading posts before the mix has set. Hanging panels or nailing rails too soon can push posts out of line before they’ve had time to firm up.
- Bracing removed too early. Leave the props on until the post mix has reached working strength, especially on a windy site.
- Boards nailed through each other. Feather edge needs room to move. Nailing two boards together causes splits and gaps.
- Overlaps that drift. Without a spacer the overlap creeps, and you run out of room or end up with a slim last board.
- Cut ends left untreated. Every saw cut exposes untreated wood. Brush on end grain preservative before moving on.
- The wrong fixings. Bright steel screws and nails rust outdoors. Use galvanised or stainless fixings throughout.
- Skipping the yearly check. A loose post caught early means replacing one post rather than a whole run. Grip each post at ground level once a year and push it gently. Any movement means it’s starting to go. A quick look around the bases should be part of your regular garden fence maintenance, along with keeping plants and long grass clear of the boards.
Choosing Timber That Lasts in the Ground
The timber you start with has a direct bearing on how long the fence stands. Pressure treated softwood is the standard for UK fencing. The use class on the label tells you where it can go, and the gap between UC3 and UC4 comes down to how much preservative the timber holds and what exposure it’s rated for.
|
Choice |
What it means | Where to use it |
|
UC4 treated |
Rated for ground contact |
Posts and anything in the soil |
|
UC3 treated |
Rated for outdoor use above ground |
Rails, gravel boards, feather edge, capping |
|
Kiln dried |
Dried before treatment, so less likely to twist or split |
Rails and anything you’re cutting a lot |
|
Rough sawn |
Sawn face, cheaper, holds stain well |
Rails, gravel boards, posts |
| Planed | Smooth on all four faces |
Slatted screens and visible joinery |
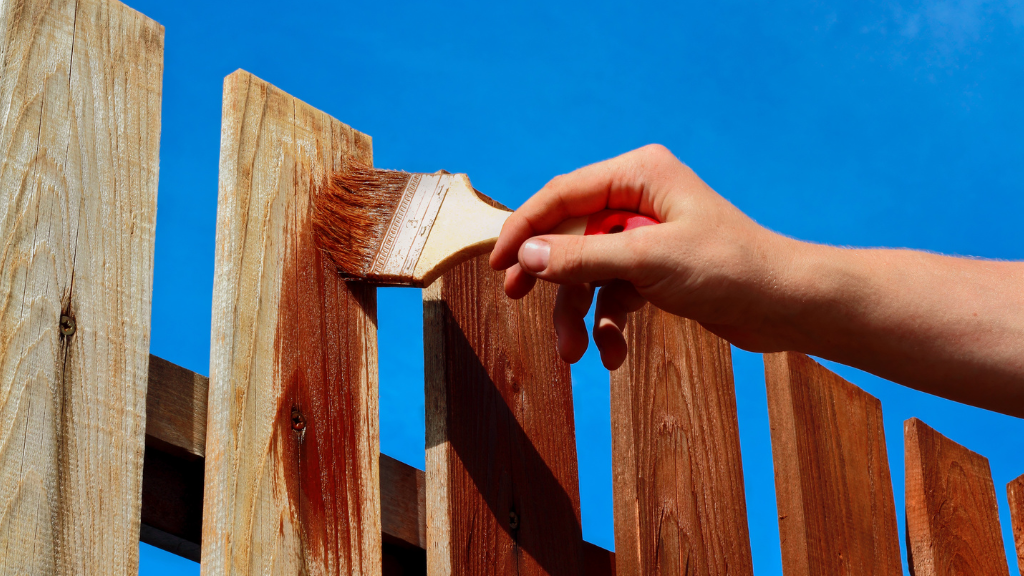
If the timber arrives a few days before you start, stack it flat and off the ground with spacers between layers. Leaving it in a heap on the lawn is the quickest way to end up with twisted rails. Once the fence is up, give it a coat of stain or preservative, paying most attention to the end grain and the bottom of the boards.
Getting Your Fencing Timber Sorted
Skuma Timba stocks the full set of parts for both builds at the Scunthorpe branch:
- 100 x 100mm fence posts
- 47mm rough sawn treated rails
- 22 x 150mm gravel boards
- 22 x 125mm feather edge boards
- Concrete posts and gravel boards
- Galvanised nails and screws to fix the lot
You can browse the full fencing timber range online. Most orders are ready to collect in under an hour. If you need posts or rails cut to length, the team can do it in branch, which saves cutting and waste on site.
Delivery is by our own vans within 65 miles of Scunthorpe, usually within 48 hours, and orders over £500 + VAT are delivered free. Not sure what the job needs? Speak to someone at Skuma Timba who knows, and they’ll help you put the order together.
Frequently Asked Questions
How deep should fence posts be in the UK?
At least 600mm for a standard 1.8m fence, and 750mm on exposed or soft ground. As a rule of thumb, around a third of the post should be underground, with 50 to 75mm of gravel in the base of each hole for drainage.
How far apart should fence posts be?
For 1.83m panels fixed between 100mm posts, set the post centres 1.93m apart. For a closeboard fence with face-fixed rails, space posts at up to 2.4m centres so rail joins land on a post. Use closer spacing on windy sites.
How much should feather edge boards overlap?
A 25mm overlap is standard. With 125mm boards that leaves 100mm of cover per board, so you need about 10 boards per metre of fence. Nail each board about 32mm in from its thick edge so the nail passes through one board only.
What size nails do I need for a feather edge fence?
Use 50mm galvanised or annular ring nails for the boards, with one nail per board on each rail. Fix the rails to the posts with 75mm galvanised nails or 100mm exterior screws.
Can a beginner build a garden fence?
Yes, as long as you have a second pair of hands for lifting and holding posts plumb. A panel fence is the easier first build. Closeboard takes longer, but the steps are straightforward once the posts are set straight.