

Building a wooden fence is one of those jobs that looks straightforward until you’re halfway through and something’s not quite right. A post that’s slightly out of line. Panels that don’t sit flush. A gate opening that’s 20mm too narrow. It sits at the more involved end of weekend timber projects you can finish at home, and the planning stage is what separates a clean finish from a half-done job in the shed.
Most of those problems come from rushing the planning stage, not the build itself. Get the groundwork right and the rest follows.
This guide covers everything from checking your boundary to treating the finished fence, with practical advice on materials, post depths, and the mistakes that cause fences to fail before their time.
What to Sort Out Before You Start
Check Who Owns the Fence
Before anything goes in the ground, confirm the boundary is yours to build on. Your property deeds should show which boundaries you’re responsible for. If you’re not sure, your mortgage documents or Land Registry entry may help.
Talk to your neighbour before work starts, even if you’re confident about the boundary. It avoids disputes later and, on a shared boundary, they may want input on height or style. Some neighbours are happy to split the cost.
Do You Need Planning Permission?
In England and Wales, a garden fence up to 2 metres high is generally permitted for development. No application needed. The exception is the front garden or any boundary that faces a public road, where the limit drops to 1 metre.
If your property is listed, in a conservation area, or has had permitted development rights removed, different rules apply. Check with your local planning authority before you start.
Mark Out the Line
Use bamboo canes and a string line to mark where the fence will run. Check it’s straight and square at any corners. A builder’s square or the 3-4-5 triangle method works well here: measure 3 units along one line, 4 along the other, and the diagonal should be exactly 5.
Take your time with this step. A string line that’s 50mm off true at one end becomes an obvious lean by the time you reach the other.
Check for Underground Cables and Pipes
Before you dig a single post hole, scan the ground with a cable avoidance tool (CAT scanner). You can hire one from most tool hire shops. Striking a buried cable or pipe is a serious risk and an expensive one. Don’t skip this.
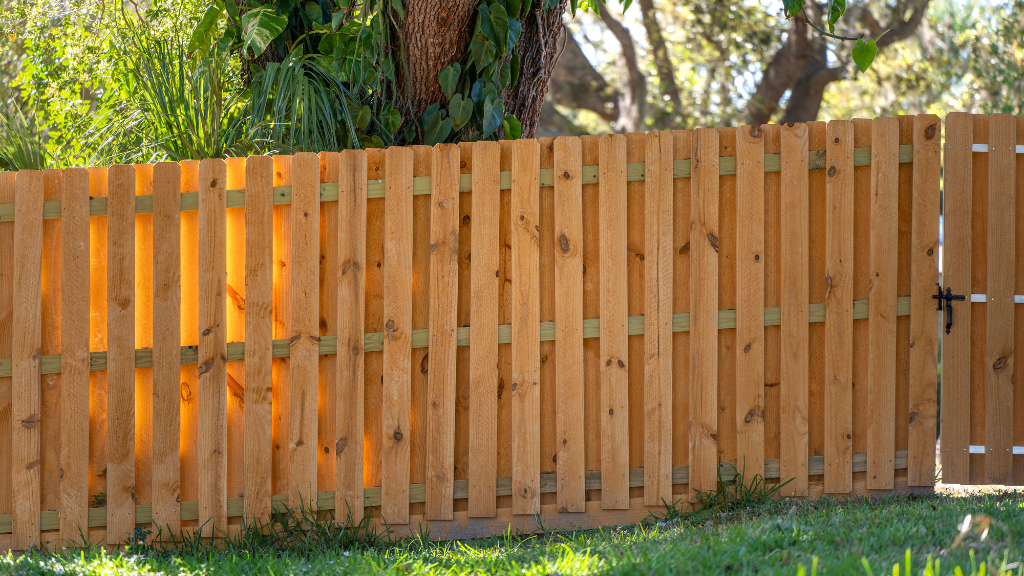
Choosing Your Fence Style and Materials
The style you go with will depend on what the fence needs to do, your budget, and how much work you want to put in.
|
Style |
Best for | Relative effort | Notes |
|
Lap panel |
General gardens, tight budgets |
Low |
Horizontal overlapping boards. Easy to fit. Needs regular treatment |
|
Feather edge (closeboard) |
Privacy, exposed or windy sites |
Medium |
Overlapping vertical boards fixed to arris rails. Very solid when built properly |
|
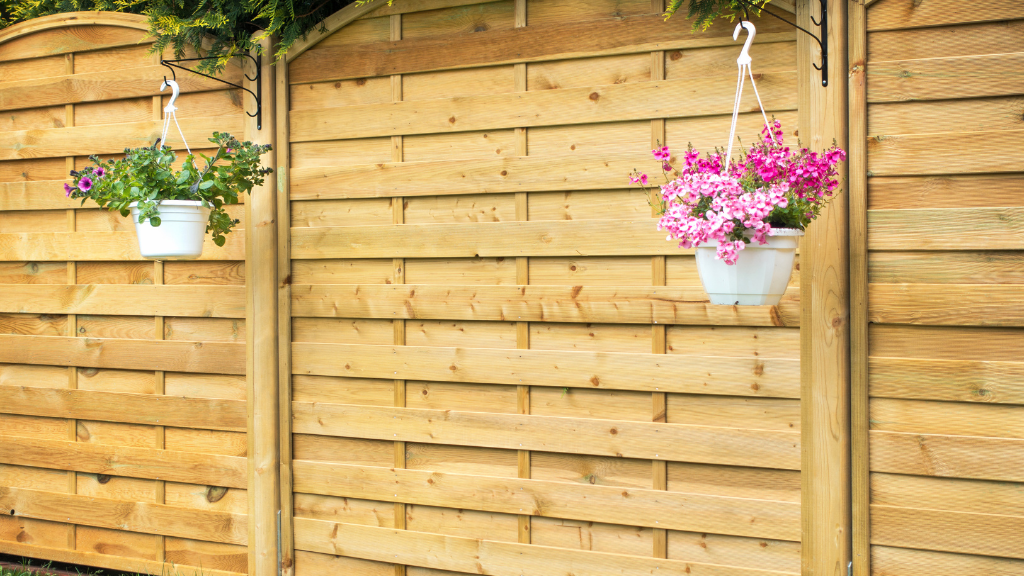
Slatted |
Contemporary gardens |
Medium |
Horizontal or vertical battens with gaps. More cutting involved |
| Picket | Front gardens, low boundaries | Low–medium |
Decorative and open. Not suitable for privacy |
Five and six ft (1.5m and 1.8m) panels are the most common heights in the UK. Bear in mind that a gravel board adds around 150mm to the overall height of the finished fence, so a 1.8m panel with a standard gravel board gives you roughly 1.95m total.
Timber vs Concrete Posts
Both work. Timber posts look better and suit most residential settings. Use pressure-treated softwood posts graded for in-ground contact (UC4 treatment) and they’ll last well. The same softwood works across most DIY timber projects in the garden, from raised beds to storage shelving.
Concrete posts are more durable and are common in the north of England. Slotted concrete posts have the advantage of letting you slide panels straight in without clips or screws, which speeds up the build. The downside is they don’t look as clean and are heavier to handle.
The choice often comes down to the panel system you’re using. Pre-made lap panels pair neatly with slotted concrete posts. Feather edge closeboard is generally built onto timber posts.
How Much Timber Do You Need?
Work out your panel count first. Divide the total fence run by the width of your chosen panel (standard width is 1.83m) and round up. That figure, plus one, gives you the number of posts.
For example: 18 metres of fence ÷ 1.83m panels = 9.8, so 10 panels and 11 posts.
Add a post for any gate opening and factor in that sloped ground may require posts cut to different heights.
For a standard 1.8m high fence, you’ll need 2.4m posts (600mm in the ground, 1.8m above). For a 1.5m fence, 2.1m posts.
Tools and Materials Checklist
Tools
- Post hole digger or spade
- Spirit level (a long one, not a pocket size)
- Drill and external-grade screws
- Tape measure
- String line and bamboo canes
- Claw hammer
- Handsaw or circular saw
- Trowel
- Timber battens (for temporarily bracing posts)
- Cable avoidance tool (hire if needed)
Materials
- Fence panels or feather edge boards
- Pressure-treated timber posts (UC4 grade) or concrete slotted posts
- Post mix (Postcrete or similar)
- Gravel boards (timber or concrete)
- L brackets (for gravel boards) and U clips (for panels)
- Post caps
- Galvanised or stainless steel screws
- Gravel (for post hole drainage)
- Wood preservative or fence stain
Step-by-Step: How to Build the Fence
- Mark out the post positions – With your string line in place, mark each post position along the fence run. Standard panel width is 1.83m, so posts should be spaced at 1.83m centres. Mark each point clearly on the ground with a cane or spray paint.
- Dig the post holes – Dig to a minimum depth of 600mm. On exposed sites or for taller fences, go to 750mm. The hole should be wide enough to pour post mix around the post on all sides, around 200-250mm diameter is typical. Add 25-50mm of gravel or MOT Type 1 to the base of each hole. This aids drainage and keeps the base of the post from sitting in standing water.
- Set your end and corner posts first –Place the first post in the hole, check it’s plumb on two adjacent faces using a spirit level, then brace it temporarily with two timber battens pushed into the ground at an angle. Mix post mix according to the manufacturer’s instructions and fill the hole to around 25mm below ground level. Trowel a slight slope on the top so water runs away from the post. Leave post mix to cure fully; most set in 10 minutes but reach working strength after a few hours. Check the manufacturer’s instructions before loading the fence.
- Run a string line between end posts – Once the corner and end posts are set and cured, run a string line between them at the top. This is your guide for keeping intermediate posts in line and at the right height.
- Set the intermediate posts –Work along the fence, setting each post to the string line. Check each one is plumb as you go. Lay a batten across the top of two adjacent posts to check they’re level with each other as well as plumb individually.
- Fit the gravel boards – Once all posts are set and cured, fit the gravel boards before the panels. Fix an L bracket to the base of each post on the panel face, then attach the gravel board with 20mm external-grade screws. The board should sit just above ground level, not buried in the soil.
- Fit the panels –For timber posts, fix U clips to the post face at the top, middle, and bottom of the panel height. Slot the panel into the clips and screw off. Alternatively, screw directly through the panel frame into the post using long external screws. For slotted concrete posts, slide the panel down into the channel from above. A second pair of hands makes this easier. Work along the fence run, checking alignment as you go.
- Fit post caps –Fix a post cap to the top of every timber post. This is a small detail that makes a real difference. End grain absorbs water faster than any other surface on the post; cap it off and you remove the main entry point for moisture.
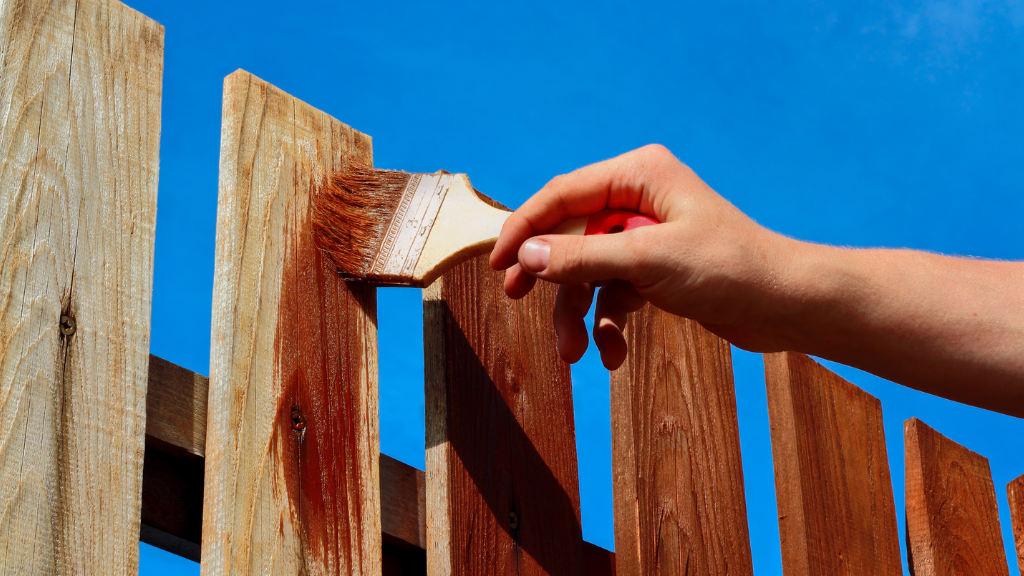
- Treat all cut ends – Any timber you’ve cut on site should be treated with end grain preservative before the job is finished. Saw cuts expose raw wood that hasn’t been treated during the manufacturing process. Brush on a preservative and leave to soak in before applying any topcoat of wood stain.
Common Mistakes That Cause Fences to Fail Early
Posts not deep enough. Six hundred millimetres is the minimum for a 1.8m fence. Anything less and a decent wind will find it. This is the most common reason fences blow over.
No gravel in the post hole base. Drainage at the base of the post is as important as depth. Without it, water pools around the bottom of the post and rot sets in from below.
Panels sitting directly on soil. Always use gravel boards. Direct contact with damp ground is where panels start to break down. Gravel boards are far cheaper to replace than panels.
Cut ends left untreated. Every saw cut on site is an unprotected surface. Brush on a preservative before moving on.
Wrong post length for the panel height. A 1.8m panel needs a 2.4m post. Get this wrong and you either don’t have enough post in the ground or you end up with a fence that’s lower than planned.
Wrong screws for the job. Standard screws rust outdoors. Use galvanised or stainless steel throughout.
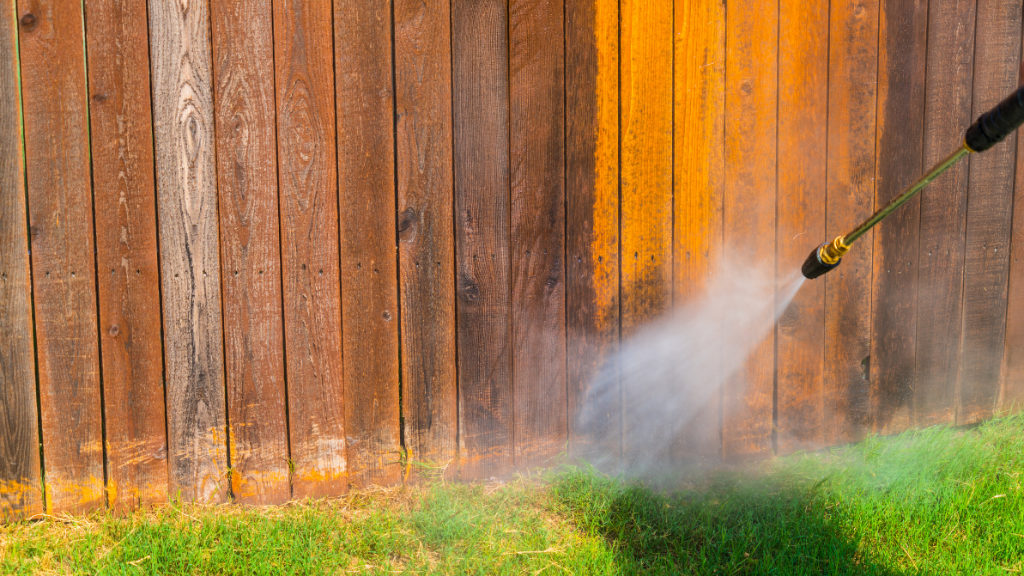
How to Treat and Maintain a Timber Fence
A pressure-treated fence needs some ongoing care to last well. Treatment during manufacturing protects the timber from within, but the surface still benefits from regular finishing, which is why garden fence maintenance is worth planning around the seasons.
Apply a fence paint, stain, or preservative when the fence is new and retreat every one to two years, depending on how exposed the site is. Water-based stains are easy to apply and dry quickly. Oil-based products tend to last longer in very exposed locations. Both work; the important thing is that you do it.
Keep vegetation clear from the base of the fence. Plants and long grass trap moisture against the boards and post bases, which speeds up deterioration.
Check the post bases once a year. Grip the post and apply gentle pressure. Any movement at ground level means the post is starting to go. Catching it early means replacing one post rather than a run of fence.
When maintenance is due, replace gravel boards before panels. They take the worst of the damp and are cheaper to swap out. If the panel above a gravel board is still solid, the board has done its job.
Getting the Materials Right
The quality of timber you start with has a direct bearing on how long the finished fence lasts. Pressure-treated softwood is the standard choice for UK fence construction, and the treatment grade matters. For posts going in the ground, UC4 is the specification to look for. For panels and rails that stay above ground, UC3 is sufficient. The difference comes down to how much preservative the timber holds and what kind of exposure it is rated for.
Kiln-dried timber is more stable than green timber and less likely to split or warp as it dries out after installation. If you’re cutting a lot of material on site, kiln-dried stock is worth the slight extra cost.
For fencing timber in North Lincolnshire and across a 65-mile radius from Scunthorpe, Skuma Timba stock pressure-treated posts, rails, and boards ready for collection or next-working-day delivery. The team can also cut timber to length in-branch, which saves time and offcuts on site.
Frequently Asked Questions
Do I need planning permission to build a fence in the UK?
In most cases, no. A fence up to 2m high is permitted for development in England and Wales. The limit drops to 1m for any boundary fronting a public road or footpath. In conservation areas or listed buildings, separate rules apply. Check with your local planning authority if you’re unsure.
How deep should fence posts be?
At least 600mm for a standard 1.8m fence. On exposed or windy sites, go to 750mm. As a rule of thumb, around one-third of the post’s total length should be in the ground.
What treatment grade do I need for fence posts?
UC4 for any timber going in the ground. UC3 for above-ground timber. UC4-treated posts have a significantly longer service life in wet soil conditions.
How long does a wooden fence last?
A well-built timber fence, with treated posts and regular surface maintenance, will typically last 15-25 years. Posts usually fail before panels, most often at ground level. Gravel boards extend panel life by keeping them clear of direct soil contact.
Do I need to speak to my neighbour first?
Not as a legal requirement in most cases, but it’s worth a conversation before work starts. If the boundary is shared, they may have a view on the height or style. Sorting this early heads off any disagreement once the fence is up.