


Six weekend builds, sorted by skill level, with the timber, tools, and tips you’ll need to actually finish what you start.
A Weekend Guide for Every Skill Level
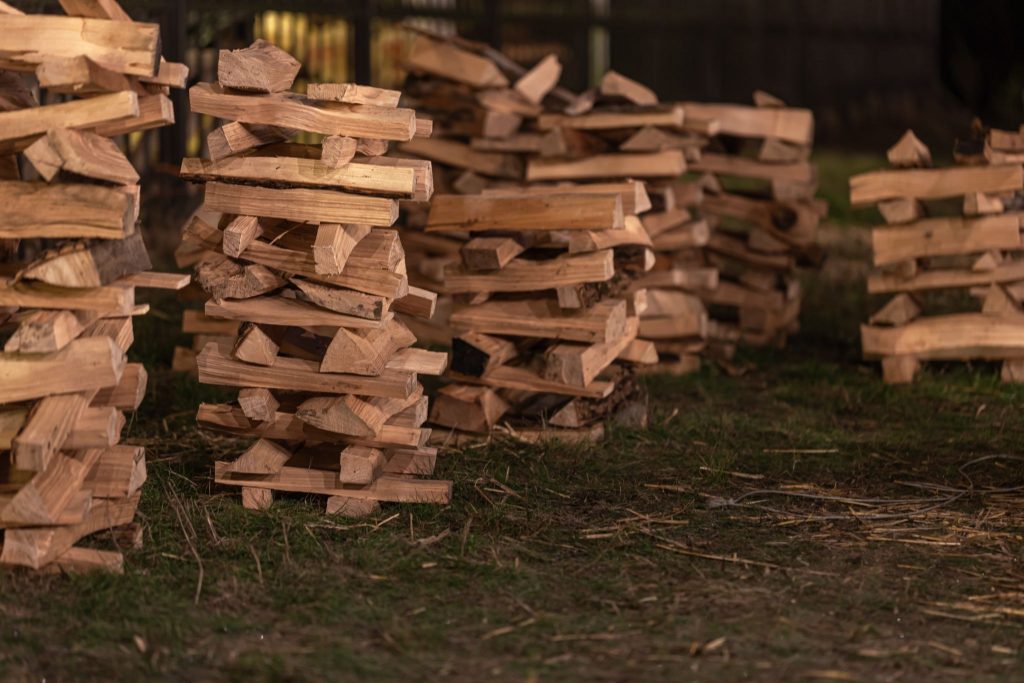
Summer is the natural window for getting stuck into a timber project. Long evenings, dry weather, and a slower work pace mean you can actually finish what you start instead of leaving a half-built frame in the shed. Treated softwood and exterior-grade plywood are easier to handle when conditions are dry, finishes cure faster, and offcuts can sit outside without soaking up the rain.
The trick is picking the right project for your skill level and the tools you actually own. A weekend project should mean buying timber Friday or Saturday morning, building Saturday, and finishing on Sunday. Any project that drags into a second or third weekend stops being fun.
This guide covers six projects across three skill brackets. There’s something here whether you’ve never picked up a saw or you’ve got a mitre saw and a sander gathering dust in the garage.
How to Pick the Right Project
Before you buy any timber, work out which bracket you fall into.
|
Skill Level |
Tools You’ll Need | Time Needed |
|
Beginner |
Hammer, tape measure, wood glue, sandpaper |
Half a day |
|
Intermediate |
Cordless drill, hand saw or jigsaw, clamps, spirit level |
One day |
| Confident DIYer | Mitre saw or circular saw, random orbit sander, drill driver |
Full weekend |
Timber choice matters as much as skill. Softwoods like pine, redwood, and treated C16 or C24 are forgiving, easy to cut, and cheap enough that mistakes don’t sting. Hardwoods like oak look beautiful but punish bad cuts and dull blades. For weekend DIY timber projects, stick with softwood unless you’ve got the experience to back it up.
Beginner Projects
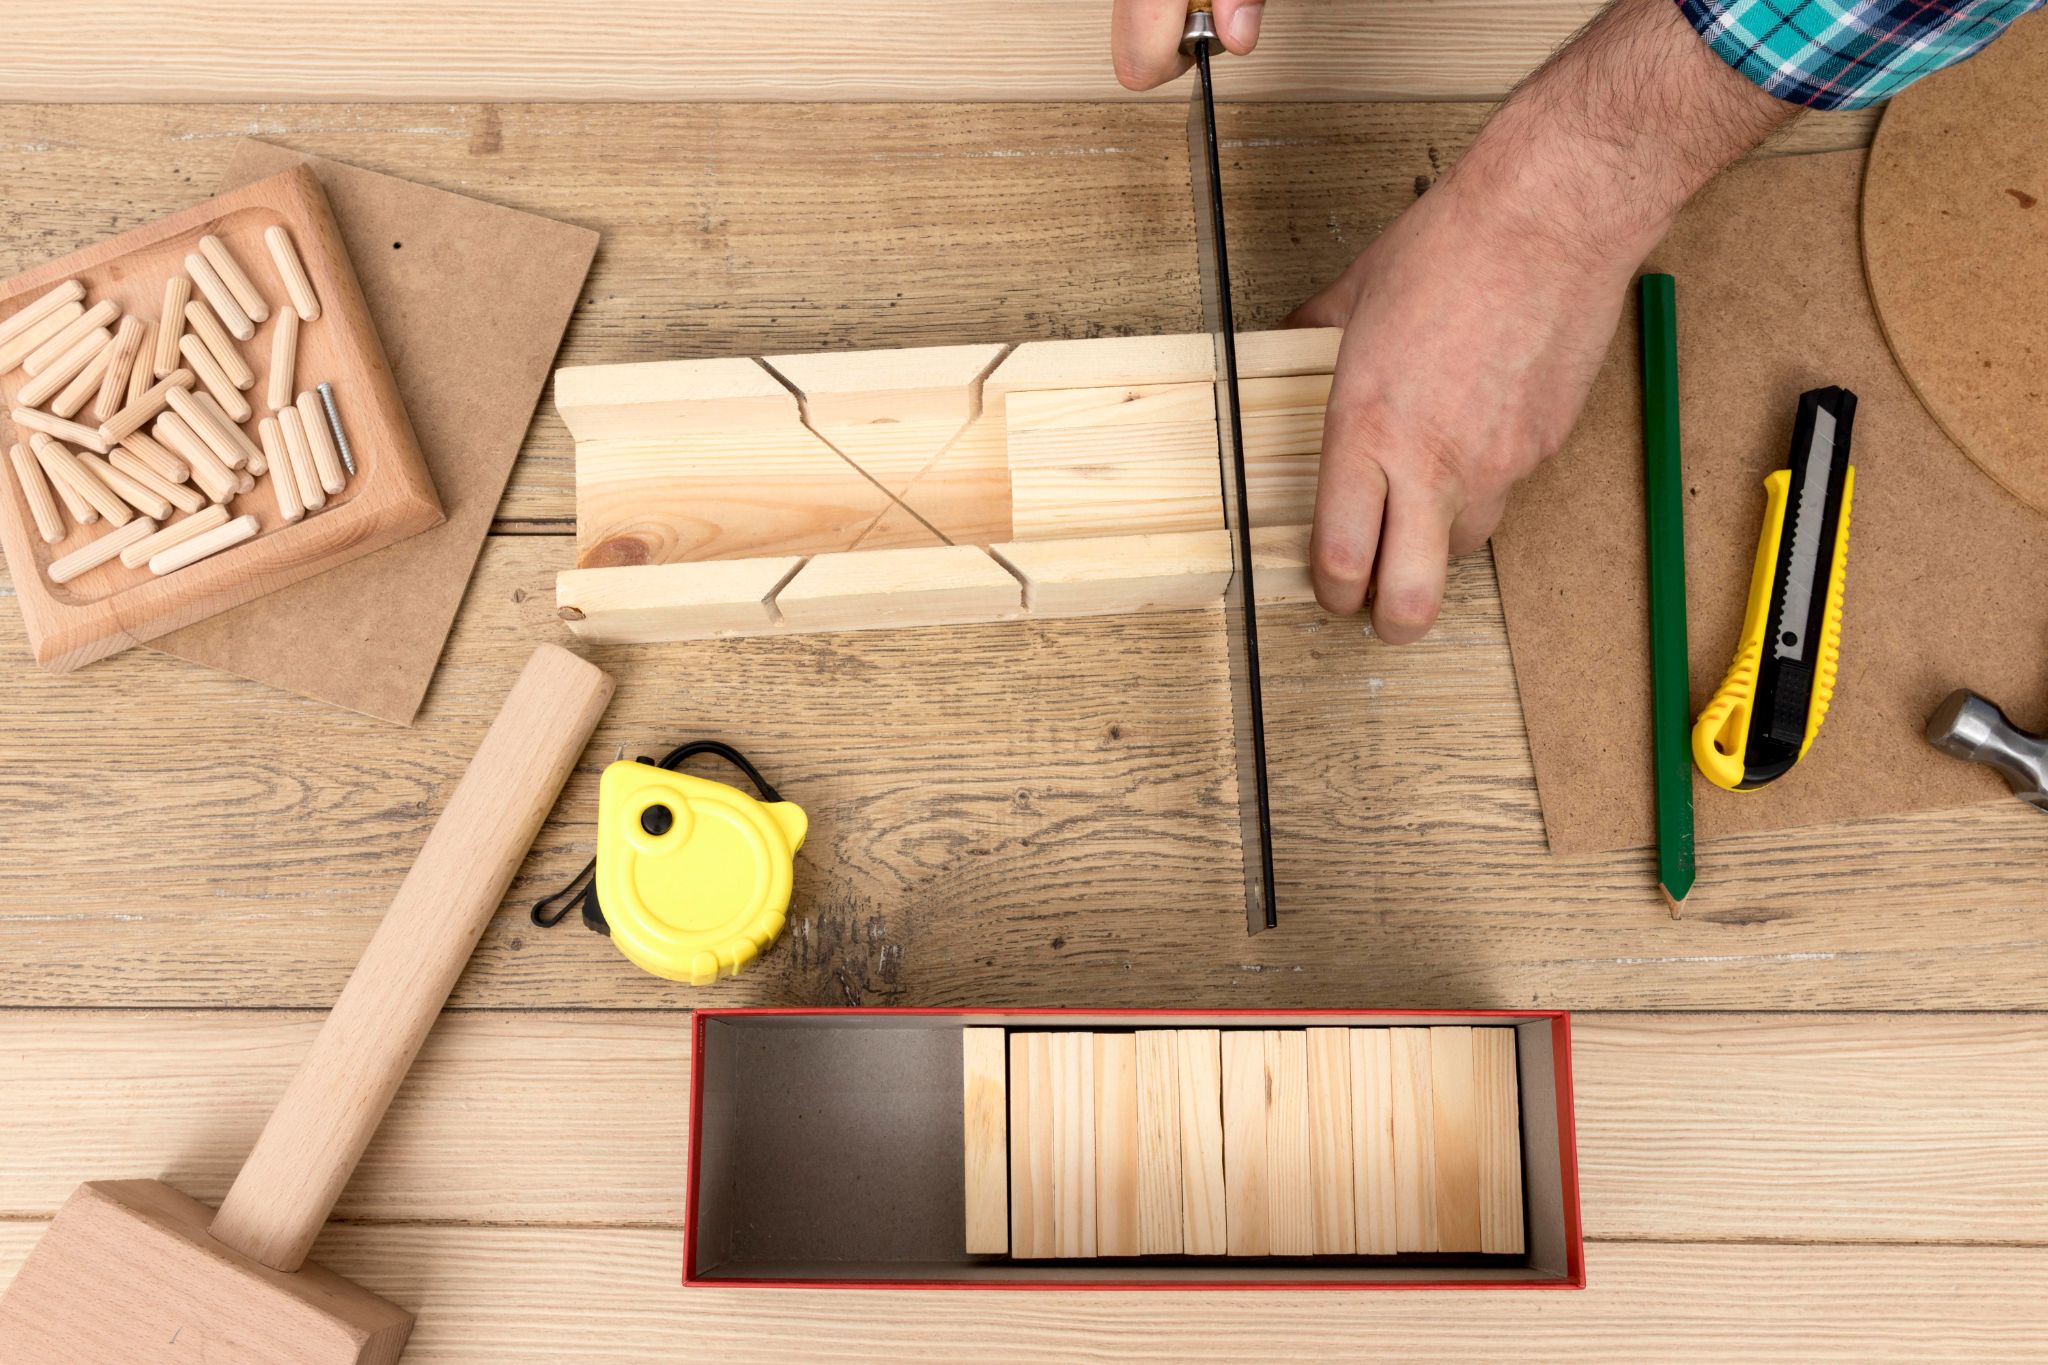
These two builds need a hammer, glue, and a tape measure. No power tools required.
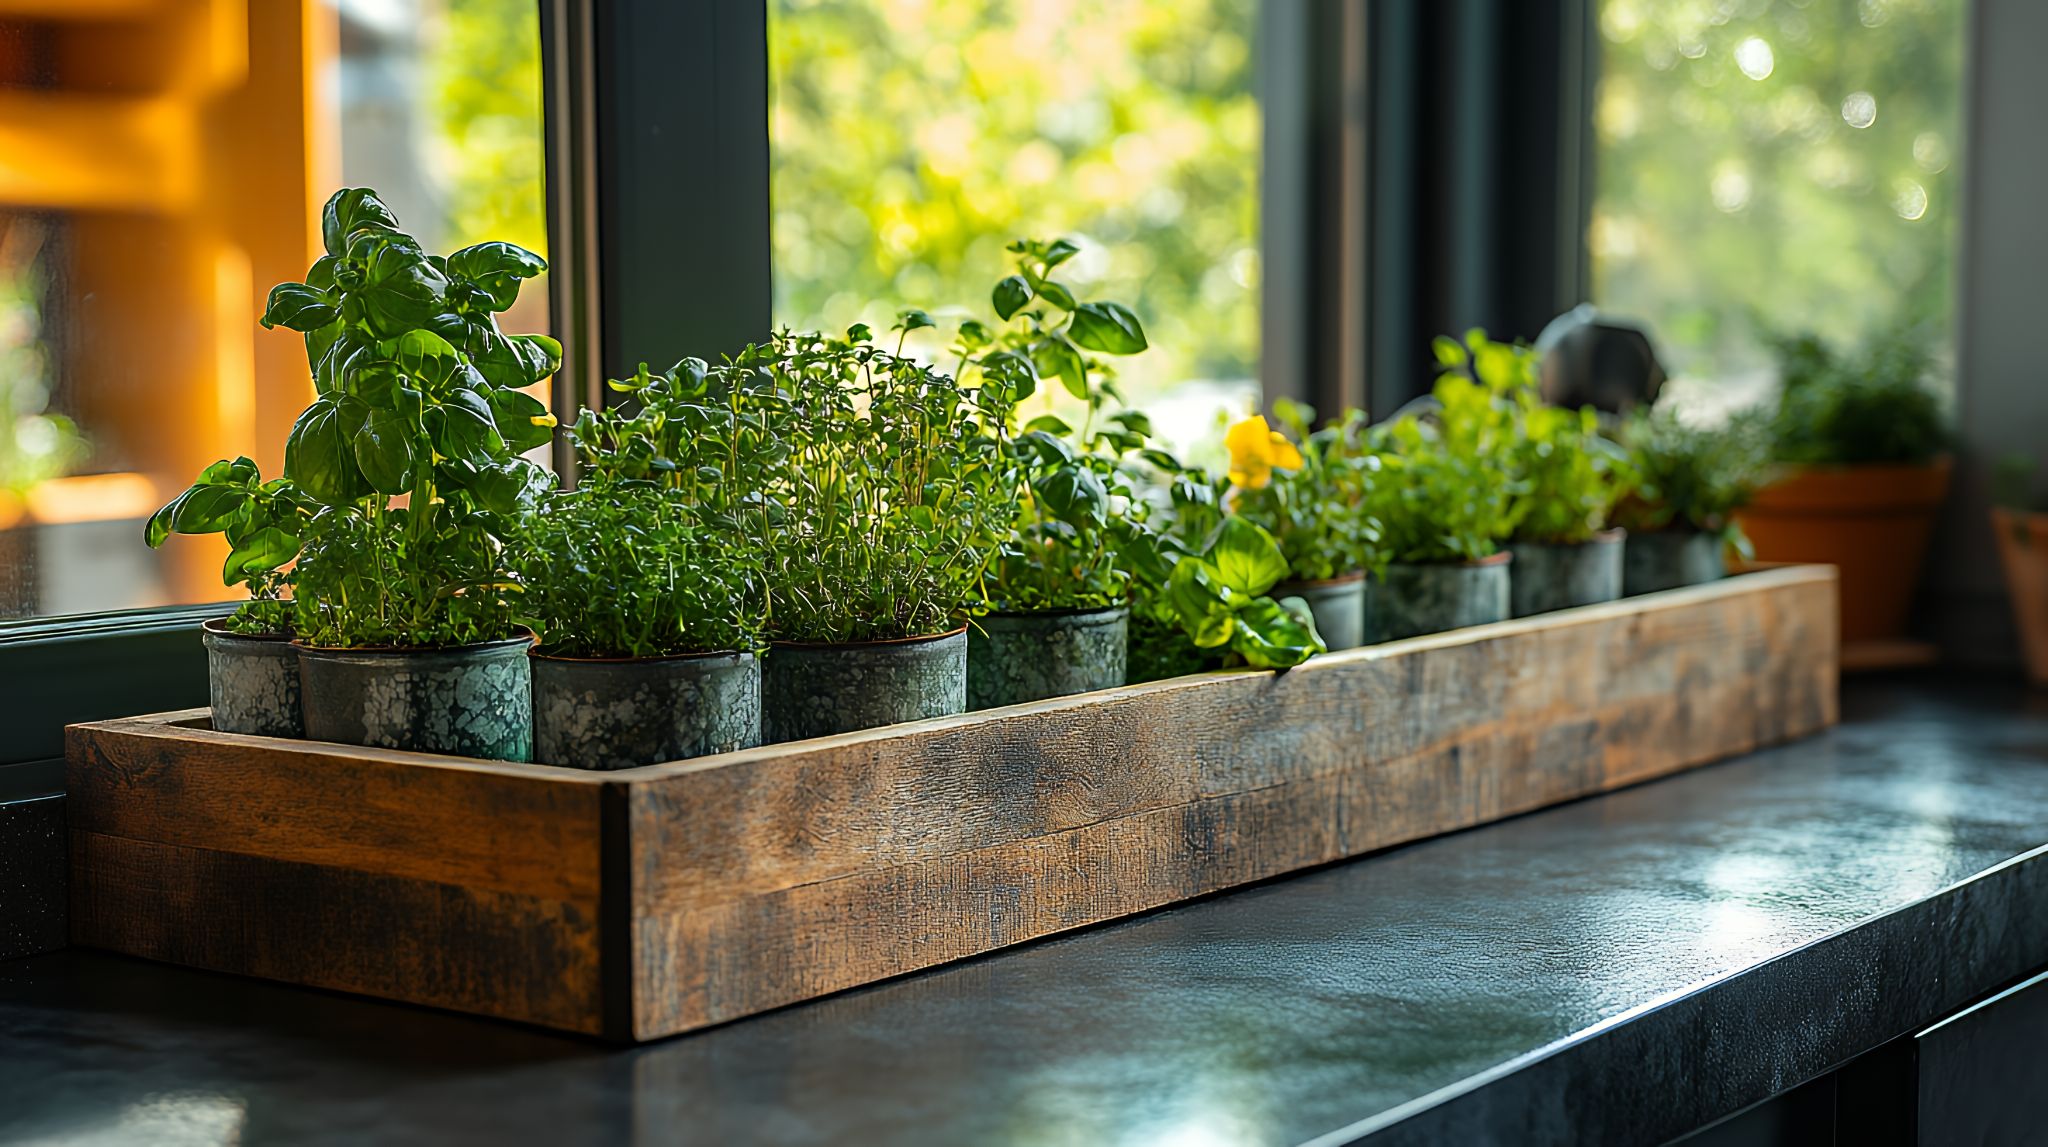
Wooden Window Planter
A genuinely useful first project. You’ll have a working planter outside your kitchen window by Saturday lunchtime.
Time to build: 2 to 3 hours
Skill level: Beginner
Tools: Hammer, tape measure, drill (for drainage holes), sandpaper
Timber and materials: 4 lengths of 18mm x 94mm planed redwood or pine, panel pins, exterior wood glue, exterior wood paint or oil
Steps:
- Measure the window sill and decide on length, width, and depth
- Cut the four side panels and the base to size, or get them cut at the merchant
- Drill four to six 8mm drainage holes along the base
- Glue and pin the sides to the base, then pin the corners together
- Let the glue cure overnight before sanding edges smooth
- Finish with exterior wood oil or paint
Practical tip: Leave a small gap between base boards for extra drainage. Soggy timber rots faster than wet soil.
Pallet Coasters or a Chopping Board
The simplest project in this guide and a good way to build confidence with glue and clamps.
Time to build: 1 to 2 hours plus drying time
Skill level: Beginner
Tools: Clamps, sandpaper, hand saw or mitre block
Timber and materials: Hardwood offcuts (oak, beech, or sycamore), food-safe wood glue, food-grade mineral oil
Steps:
- Cut offcuts to consistent widths and lengths
- Apply glue to the long edges and clamp tightly together
- Leave to cure for 24 hours
- Sand flat with progressively finer grit, finishing at 240
- Oil generously, wipe off excess, repeat after 24 hours
A chopping board is the same process scaled up. If you’ve got hardwood offcuts going spare, this is the project for them.

Intermediate Projects
Step up to a drill and a saw. Both these projects finish inside a day if you’ve prepped your timber properly.
Floating Shelves
A solid intermediate project that teaches you marking, drilling, and levelling. Useful in any room.
Time to build: 4 to 6 hours
Skill level: Intermediate
Tools: Cordless drill, spirit level, pencil, tape measure, stud finder, sander
Timber and materials: 18mm planed pine, oak veneered MDF, or scaffold board for a chunkier look. Concealed shelf brackets (also called floating shelf brackets) and appropriate wall fixings
Steps:
- Mark the shelf position on the wall and use a spirit level to draw a guide line
- Locate studs with a stud finder, or plan masonry fixings into solid wall
- Drill bracket pilot holes, fix brackets to the wall, and check level again
- Drill matching holes into the back edge of your shelf
- Slide the shelf onto the brackets and tap home with a rubber mallet
- Sand and finish before fitting if you want a clean look
Practical tip: Plasterboard alone won’t take any real weight. If you can’t hit a stud, use heavy-duty toggle fixings rated for at least 20kg per fixing. For brick or block, brown plugs and 60mm screws will do the job.
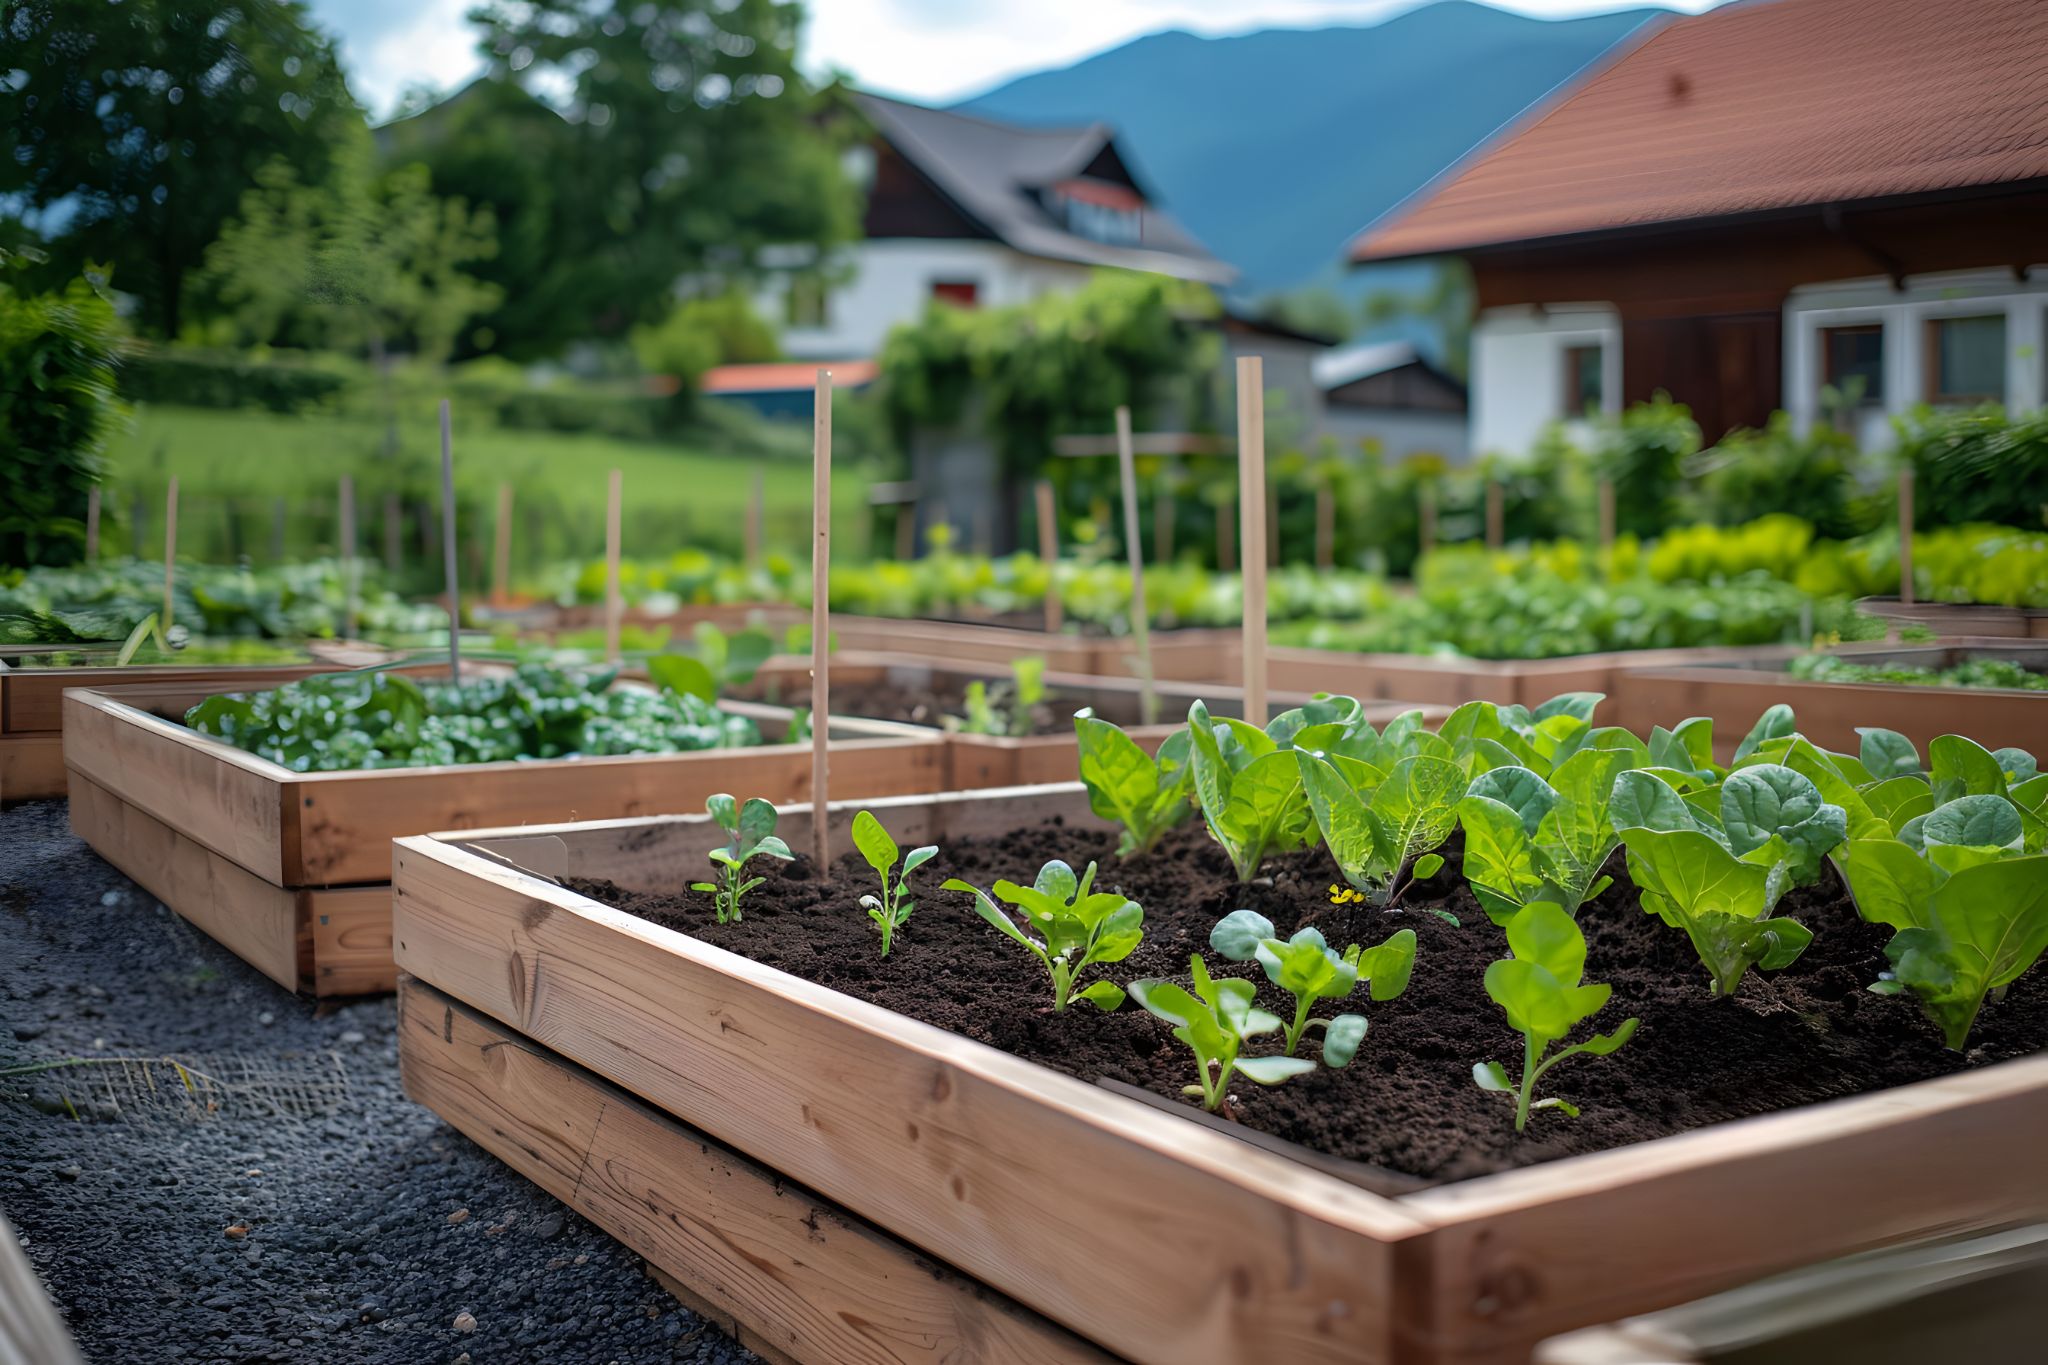
Raised Garden Bed
A satisfying build that finishes in a Saturday afternoon and pays you back every growing season.
Time to build: 4 to 5 hours
Skill level: Intermediate
Tools: Cordless drill, hand saw or jigsaw, spirit level, spade
Timber and materials: Treated C16 boards (typically 22mm x 150mm) for the sides, 47mm x 47mm CLS for corner posts, exterior screws, weed membrane
Steps:
- Decide on bed size. A typical raised bed runs 1.2m x 2.4m for easy reach across
- Cut your boards to length and four corner posts to your desired height
- Screw side boards to corner posts, building the box upside down on a flat surface
- Flip the box, position it, and check level. Pack soil under low corners if needed
- Line the inside with weed membrane, stapled to the upper edge
- Fill with topsoil and compost
Practical tip: Always use treated timber for raised beds. Untreated softwood will rot inside a year or two. C16 treated boards last five to ten years depending on climate and soil contact.
Confident DIYer Projects
These need a saw you trust, a sander, and most of a weekend. The results justify the time.
Garden Bench
A proper build with a finished feel. Roughly a full weekend including treatment time.
Time to build: 8 to 12 hours across two days
Skill level: Confident DIYer
Tools: Mitre saw or circular saw, drill driver, random orbit sander, clamps, spirit level
Timber and materials: Planed treated softwood or redwood. Seat and back slats from 47mm x 100mm boards, legs and frame from 47mm x 47mm. Exterior screws, timber connectors, exterior wood treatment
Steps:
- Cut all components to size. A standard bench runs about 1.5m long, 45cm seat height, 80cm overall height
- Build the two side frames first using halving joints or butt joints with timber connectors
- Connect the side frames with cross rails at front and back
- Fit seat slats with a 5mm gap between each for drainage
- Fit back slats at a slight angle for comfort
- Sand all surfaces, paying attention to corners and edges
- Apply exterior wood treatment, two coats minimum
Practical tip: Pre-drill every screw hole near the end of a board. Splitting a finished bench leg at the last screw is one of the most preventable mistakes in any timber project.
Timber Storage Shelving for the Garage or Shed
A heavier build that uses standard merchant stock and earns its keep the moment it’s finished.
Time to build: 6 to 8 hours
Skill level: Confident DIYer
Tools: Mitre saw or circular saw, drill driver, spirit level, masonry drill if fixing to brick
Timber and materials: CLS studwork (38mm x 89mm) for the frame, 18mm OSB or plywood for shelves, structural screws, wall fixings rated for the load you’re planning.
Steps:
- Measure the wall and decide on shelf height, depth, and number of tiers. 400mm depth suits most garage storage
- Build the back frame flat on the floor, with vertical studs every 600mm and horizontal noggins at each shelf height
- Fix the frame to the wall, hitting masonry where possible. Check level before final tightening
- Cut shelves from 18mm OSB or plywood and screw down through the top into the noggins
- Add a front rail along each shelf if you’re planning to store anything that might roll
Practical tip: Don’t overload a shelf you’ve fixed only into plasterboard. For anything heavier than empty boxes, your fixings need to reach masonry or solid stud. Heavy garage shelving belongs on heavy fixings.
Choosing the Right Timber
Most weekend timber projects fail at the merchant, not in the workshop. Buy the wrong grade and you’ll fight the wood at every step.
|
Timber Type |
Best For | Typical Sizes |
|
Pine and redwood (planed) |
Indoor projects, planters, shelves |
18mm x 94mm, 18mm x 144mm |
|
Treated C16 softwood |
Raised beds, outdoor frames, garden builds |
22mm x 150mm, 47mm x 100mm |
|
Treated C24 softwood |
Structural work, heavy outdoor builds |
47mm x 100mm, 47mm x 150mm |
|
CLS studwork |
Stud walls, shelving frames |
38mm x 63mm, 38mm x 89mm |
|
Plywood and OSB |
Backs, bases, shelf surfaces |
12mm and 18mm sheets |
| Hardwood (oak, beech) | Chopping boards, small decorative pieces |
Varies by stock |
A few buying tips that save time on a weekend build:
- Buy a bit more than you need. One warped length will derail your day if you’ve cut everything to the millimetre
- Check every board for cupping, twisting, or splits before you load the van, and once it’s home, a few simple steps for storing timber in garage space will keep it that way
- Ask the merchant to cut to size if your saw setup is limited. It’s faster, more accurate, and saves an hour of work at home
Skuma Timba carries the full range of timber and sheet materials, with on-site cutting included. You can browse the full timber range and order for collection or local delivery.
Tools You’ll Build Up Over Time
You don’t need to buy everything at once. Most DIYers build their kit project by project.
A beginner gets going with a tape measure, pencil, combination square, hammer, hand saw, wood glue, and sandpaper. Add a cordless drill, jigsaw, clamps, and a spirit level once you start tackling intermediate work. By the time you’re confident, a mitre saw or circular saw and a random orbit sander will save hours on every build.
Buy mid-range tools rather than the cheapest option. A budget jigsaw will frustrate you on the first cut. A solid one will see you through ten years of weekend projects.
FAQs
What’s the best timber for beginner DIY projects?
Pine and redwood are the easiest to work with: soft, light, easy to cut, and cheap enough that mistakes don’t sting. For outdoor projects, look for treated softwood graded C16 or C24. Hardwoods like oak are worth saving until you’re confident with sharper tools and tighter tolerances.
How much does a weekend timber project cost?
Most beginner projects come in under £30 in materials. Intermediate projects like floating shelves or raised beds usually sit between £40 and £80. A full garden bench or storage shelving build might reach £100 to £150 depending on timber choice and size.
Do I need a workshop to build these projects?
No. A garden, garage, or even a tarpaulin on the patio is enough for the projects in this guide. A workbench or a pair of trestles helps, but isn’t essential for any of the beginner builds.
Can I get timber cut to size at the merchant?
Yes, most timber merchants offer a cutting service. Skuma Timba’s Scunthorpe branch cuts timber to size in-store with no advance booking, which saves time and means you can start building the moment you get home.
What’s the difference between C16 and C24 timber?
Both are graded structural softwood. C24 is stronger and stiffer, used for joists, rafters, and load-bearing work. C16 is fine for most garden builds, raised beds, and shelving. For weekend DIY, C16 is usually all you need.
How do I know if my timber is properly treated?
Treated timber usually has a green or brown tint and feels slightly damp when fresh from the yard. It should be marked as pressure treated or tanalised. Treatment doesn’t make timber waterproof, but it slows rot dramatically, and regular garden fence maintenance slows it further still. For ground contact (like raised beds or fence posts), look for timber rated for use class 4.
Picking Up Your Timber
Pick a project that matches your tools, your time, and your patience. Buy a bit more timber than you think you need, ask for it cut to size, and check every length before you leave the yard.
Skuma Timba stocks over 1,500 trade products at the Scunthorpe branch, with timber cut to size in-store and free local delivery on orders over £500 plus VAT within 65 miles. Order online for collection in under an hour, or speak to someone who knows on the trade counter.